In this tutorial, you’ll learn how to create module in Angular 7. Modules are used in Angular to group several components so as to organize the code for better readability and reusability.
Source code from this tutorial is available on GitHub.
Getting Started With Angular 7
Let’s start by creating a new Angular 7 app using the Angular CLI. If you haven’t installed Angular CLI, you can install the same using npm.
// install angular cli
npm install -g @angular/cli
Once you have the angular cli installed, use the ng cli command to create a new Angular project.
// create new Angular project
ng new angular-mod-pro
Select yes for Angular routing and select CSS for style. You will have the Angular project boilerplate created.
Navigate to the project directory and start the application server.
// start the Angular app
npm start
Point your browser to http://localhost:4200 and you will have the Angular app running.
Create Module In Angular Using CLI
Let’s assume that our Angular application will be displaying two different dashboards in two tabs. I’ll be using bootstrap for setting up the tab user interface. Install and add bootstrap to Angular 7.
Once you have integrated bootstrap with your Angular 7 application, let’s get started with creating an Angular module. You’ll be displaying two dashoard namely HomeDashboard and ProfileDashboard in two tabs of the Angular app.
Creating Home Dashboard Module
From the project directory create an Angular module for HomeDashboard using the Angular CLI.
// create angular module
ng g module HomeDashboard --routing
–routing flag has been added to create the routing configuration for the HomeDashboard module.
The above command creates a module called HomeDashboardModule inside app/home-dashboard.
Next define a component called Home which will be rendered when the module is loaded.
// create a component called Home
ng g component home-dashboard/Home
The above command creates a component called HomeComponent inside the HomeDashboardModule.
Inside the home-dashboard/home-dashboard-routing.module.ts add the routes to display when the module is loaded. Here is how the routes look :
const routes: Routes = [
  {path : '', component : HomeComponent}
];
Here is how the home-dashboard/home-dashboard-routing.module.ts looks :
import { NgModule } from '@angular/core';
import { Routes, RouterModule } from '@angular/router';
import { HomeComponent } from './home/home.component';

const routes: Routes = [
  {path : '', component : HomeComponent}
];

@NgModule({
  imports: [RouterModule.forChild(routes)],
  exports: [RouterModule]
})
export class HomeDashboardRoutingModule { }
Creating Profile Dashboard Module
Using a similar approach you can create a ProfileDashboard module and inside the module create a component called Profile. Here is how the routing file for ProfileDashboard profile-dashboard-routing.module.ts looks :
import { NgModule } from '@angular/core';
import { Routes, RouterModule } from '@angular/router';
import { ProfileComponent } from './profile/profile.component';

const routes: Routes = [
  {path : '', component : ProfileComponent}
];

@NgModule({
  imports: [RouterModule.forChild(routes)],
  exports: [RouterModule]
})
export class ProfileDashboardRoutingModule { }
Setting Up The Angular Application Route To Modules
You have both the Angular modules ready. Now you need to learn how to use the Angular modules in the Angular application. For using the Angular modules you need to route to the respective Angular modules.
Inside the app-routing.module.ts file, you need to define the route and the respective Angular module to load. Here is how it looks :
import { NgModule } from '@angular/core';
import { Routes, RouterModule } from '@angular/router';

const routes: Routes = [
  {path : 'home', loadChildren : './home-dashboard/home-dashboard.module#HomeDashboardModule'},
  {path : 'profile', loadChildren : './profile-dashboard/profile-dashboard.module#ProfileDashboardModule'},
  {path : '', redirectTo : '/home', pathMatch : 'full'}
];

@NgModule({
  imports: [RouterModule.forRoot(routes)],
  exports: [RouterModule]
})
export class AppRoutingModule { }
You have defined the Angular application routes. Now let’s use it inside the app.component.html template anchor tag.
<div class="container-fluid">
  <ul class="nav nav-tabs" id="myTab" role="tablist">
    <li class="nav-item">
      <a class="nav-link active" id="home-tab" routerlink="/home" data-toggle="tab" href="#home" role="tab" aria-controls="home" aria-selected="true">Home</a>
    </li>
    <li class="nav-item">
      <a class="nav-link" id="profile-tab" routerlink="/profile" data-toggle="tab" href="#profile" role="tab" aria-controls="profile" aria-selected="false">Profile</a>
    </li>
  </ul>
  <div class="tab-content" id="myTabContent">
      <router-outlet></router-outlet>
  </div>
</div>
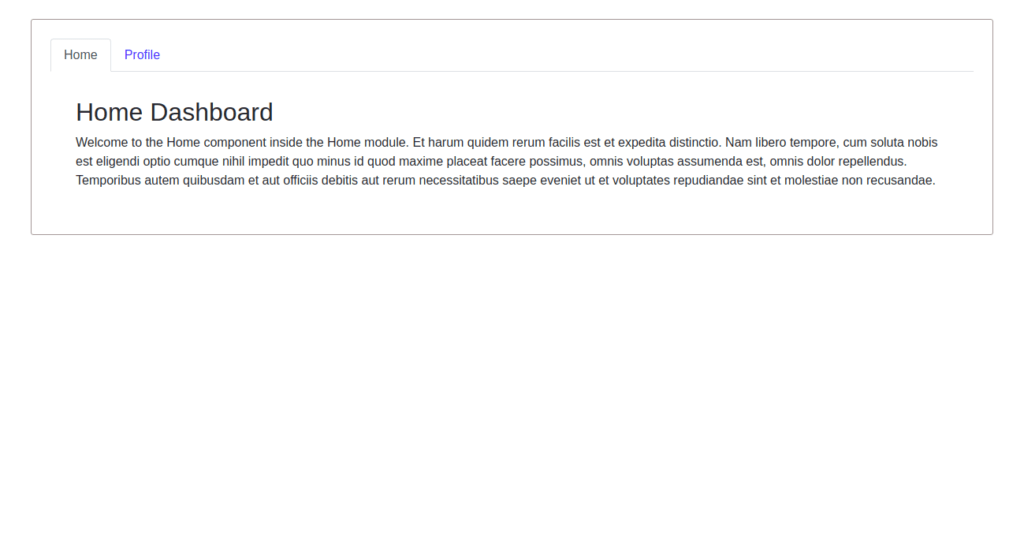
As seen in the above HTML code, each of the anchor tag has an attribute called routerLink which facilitates routing the Angular application routes.
Save the above changes and restart application. Try clicking on the tabs and you can see each of the respective modules loading in tabs.
Wrapping It Up
In this tutorial, you learnt how to create module in Angular 7. You created an Angular 7 app from scratch and create a module and integrated the module into the Angular 7 app. You also learnt how to switch views in a tab between two Angular modules.
Source code from this Angular 7 tutorial is available on GitHub.