In this tutorial, you’ll learn how to create a web app using Angular and Firebase. You’ll start by creating a web app using the Angular command line interface (CLI). Then you’ll learn how to use Firebase inside an Angular web application.
Other tutorials in Angular tutorial series.
- How To Make Asynchronous Calls In Angular
- How to Implement Auto Complete In Angular
- Creating A Web App Using Angular And MongoDB
- How To Create A Web App Using Angular And Firebase
- How To Make Login Page Using Angular And Firebase
Creating A Web App Using Angular and Firebase
Let’s get started by creating an Angular web app using the Angular CLI.
# create new Angular app
ng new AngularFirebase
Once the project has been created navigate to the project directory and start the Angular application server.
cd AngularFirebase
npm start
Once the application has been started you will be able to view the Angular application running at http://localhost:4200.
Setting Up The Application
By default the Angular application has a root component defined in the app.component.ts file. But to me it doesn’t really look organized. So, let’s try to create a component called root which would serve as the root component for our Angular application. Create a new component called root using the following command:
# creating Angular component
ng g component root
You will have the root component created which the basic files.
create src/app/root/root.component.css (0 bytes)
create src/app/root/root.component.html (23 bytes)
create src/app/root/root.component.spec.ts (614 bytes)
create src/app/root/root.component.ts (261 bytes)
update src/app/app.module.ts (390 bytes)
Modify the HTML code inside the root/root/component.html file.
<div class="header">
    <h3>
        Angular Firebase Task Manager
    </h3>
</div>
Delete all the files inside the app folder except app.module.ts and remove the AppComponent imports from the app.module.ts file. Bootstrap the RootComponent in the NgModule. Here is how the app.module.ts file looks:
import { BrowserModule } from '@angular/platform-browser';
import { NgModule } from '@angular/core';

import { RootComponent } from './root/root.component';


@NgModule({
  declarations: [
    RootComponent
  ],
  imports: [
    BrowserModule
  ],
  providers: [],
  bootstrap: [RootComponent]
})
export class AppModule { }
Start the server and you will have the application running.
# start Angular server
npm start
Setting Up Firebase
In our web app using Angular and Firebase you need to install firebase module and the Angular fire module. Install both the modules using the Node Package Manager (npm).
npm install --save angularfire2@^5.0.0-rc.3
npm install --save firebase@4.6.1
Inside the Angular application define an environment configuration for firebase. Here is how the config key would look in the environments/environment.ts file:
export const environment = {
  production: false,
  firebase: {

  }
};
Import the following two modules in the app.module.ts file.
import { AngularFireModule } from 'angularfire2';
import { AngularFireDatabaseModule } from 'angularfire2/database';
Add the both the above modules in the NgModule’s import section. Here is how the app.module.ts file looks:
import { BrowserModule } from '@angular/platform-browser';
import { NgModule } from '@angular/core';
import { AngularFireModule } from 'angularfire2';
import { AngularFireDatabaseModule } from 'angularfire2/database';
import { environment } from '../environments/environment';
import { RootComponent } from './root/root.component';


@NgModule({
  declarations: [
    RootComponent
  ],
  imports: [
    BrowserModule,
    AngularFireModule.initializeApp(environment.firebase),
    AngularFireDatabaseModule
  ],
  providers: [],
  bootstrap: [RootComponent]
})
export class AppModule { }
Create an account on Firebase and create a web application project. Obtain the firebase config and copy it to the firebase variable in the environments/environment.ts file. Here is how it will looks:
export const environment = {
  production: false,
  firebase: {
    apiKey: "your-api-key",
    authDomain: "codehandbook-9e097.firebaseapp.com",
    databaseURL: "https://codehandbook-9e097.firebaseio.com",
    projectId: "your-project-id",
    storageBucket: "codehandbook-9e097.appspot.com",
    messagingSenderId: "your-sender-id"
  }
};
Creating The List Task Angular Component
Let’s start by creating a component to show the list of tasks. From the project directory create a new component.
cd AngularFirebase
ng g component list-task
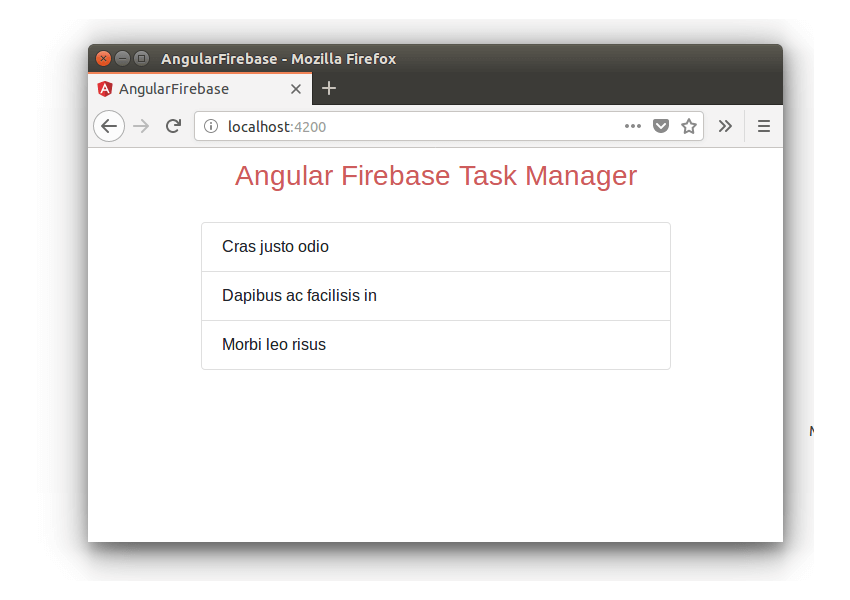
Once you have the component created modify the list-task/list-task.component.html file.
<div class="wrapper">
  <ul class="list-group">
    <li class="list-group-item d-flex justify-content-between align-items-center">
    Cras justo odio
    </li>
    <li class="list-group-item d-flex justify-content-between align-items-center">
    Dapibus ac facilisis in
    </li>
    <li class="list-group-item d-flex justify-content-between align-items-center">
    Morbi leo risus
    </li>
  </ul>
</div>
Add the following CSS to list-task/list-task.component.css file.
.wrapper{
    padding: 20px;
}
Modify the root/root.component.html file include the list-task component.
<div class="header">
    <h3>
        Angular Firebase Task Manager
    </h3>
</div>
<app-list-task></app-list-task>
Save the above changes and you will have the dummy task list listed on in your web application.
Creating The Add Task Component
Let’s create another component to add tasks to the application.
# creating the Add Task Component
ng g component add-task
Add the following HTML code to add-task/add-task.component.html file.
<div class="buttonWrapper">
<button type="button" data-toggle="modal" data-target="#exampleModal" class="btn btn-primary">Add</button>
</div>
<div class="modal fade" id="exampleModal" tabindex="-1" role="dialog" aria-labelledby="exampleModalLabel" aria-hidden="true">
<div class="modal-dialog" role="document">
<div class="modal-content">
<div class="modal-header">
<h5 class="modal-title" id="exampleModalLabel">Add task</h5>
<button type="button" class="close" data-dismiss="modal" aria-label="Close">
<span aria-hidden="true">×</span>
</button>
</div>
<div class="modal-body">
<input type="text" name="txtTask" [(ngModel)]="task" class="form-control" placeholder="enter your task">
</div>
<div class="modal-footer">
<button #closeBtn type="button" class="btn btn-secondary" data-dismiss="modal">Close</button>
<button type="button" (click)="addTask()" class="btn btn-primary">Add</button>
</div>
</div>
</div>
</div>
As seen in the above HTML code you have added an ngModel directive to the txtTask input box. You have also added a click directive to the button.
Now let’s define the ngModel variable task and click method addTask inside the add-task/add-task.component.ts file. Here is how it looks:
import { Component, OnInit } from '@angular/core';

@Component({
  selector: 'app-add-task',
  templateUrl: './add-task.component.html',
  styleUrls: ['./add-task.component.css']
})
export class AddTaskComponent implements OnInit {

    public task;

    constructor() {
        this.task = null;
    }

    ngOnInit() {

    }

    addTask(){
        if(this.task){
            alert('Task found')
        } else {
            alert('Enter task');
        }
    }
}
Add the following CSS style to the add-task.component.css file:
.buttonWrapper{
    text-align: right;
    margin-bottom: 5px;
}
Add the add-task component to the list-task HTML code. Here is how the list-task.component.html file looks:
<div class="wrapper">
  <app-add-task></app-add-task>
  <ul class="list-group">
    <li class="list-group-item d-flex justify-content-between align-items-center">
    Cras justo odio
    </li>
    <li class="list-group-item d-flex justify-content-between align-items-center">
    Dapibus ac facilisis in
    </li>
    <li class="list-group-item d-flex justify-content-between align-items-center">
    Morbi leo risus
    </li>
  </ul>
</div>
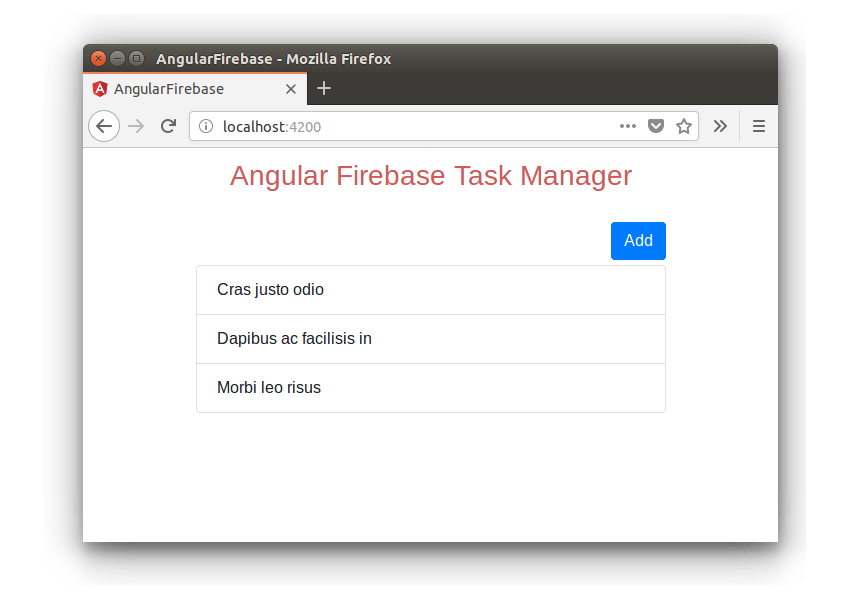
Save the above changes and you will have the list task screen along with the Add button. Click on the Add button and you will have the validations displayed.
Adding Task To Firebase Database
First you need to import the AngularFireDatabase in the add-task.component.ts file.
# import the library
import { AngularFireDatabase } from 'angularfire2/database';
Initialize the AngularFireDatabase in the AddTaskComponent’s constructor.
Initialize the firebase database in the constructor method as shown:
constructor(private angularFire: AngularFireDatabase) {
        this.task = null;
        this.firebase = this.angularFire.list('/task');
    }
Inside the addTask method you need to push the task details. Here is how it looks:
addTask(){
    if(this.task){
        this.firebase.push({
            task: this.task,
            createdDate: (new Date()).getTime()
        });
    } else {
        alert('Enter task');
    }
}
When you have added the task details you need to close the add task pop up.
Add a reference to the #closeBtn button in the add-task.component.html file. For that you need to import the following references in the AddPostComponent.
# import ViewChild and ElementRef
import { Component, OnInit, ViewChild, ElementRef } from '@angular/core';
Define a reference to the closeBtn inside the AddTaskComponent.
// Define the variable closeBtn
@ViewChild('closeBtn') closeBtn: ElementRef;
When the task has been added you need to pro grammatically call the closeBtn click.
// this code clicks the close button
this.closeBtn.nativeElement.click();
Here is how the add-task.component.ts file looks:
import { Component, OnInit, ViewChild, ElementRef } from '@angular/core';
import { AngularFireDatabase } from 'angularfire2/database';

@Component({
  selector: 'app-add-task',
  templateUrl: './add-task.component.html',
  styleUrls: ['./add-task.component.css']
})
export class AddTaskComponent implements OnInit {

    @ViewChild('closeBtn') closeBtn: ElementRef;
    public task;
    public firebase;

    constructor(private angularFire: AngularFireDatabase) {
        this.task = null;
        this.firebase = this.angularFire.list('/task');
    }

    ngOnInit() {

    }

    addTask(){
        if(this.task){
            this.firebase.push({
                task: this.task,
                createdDate: (new Date()).getTime()
            });
            this.closeBtn.nativeElement.click();
        } else {
            alert('Enter task');
        }
    }

}
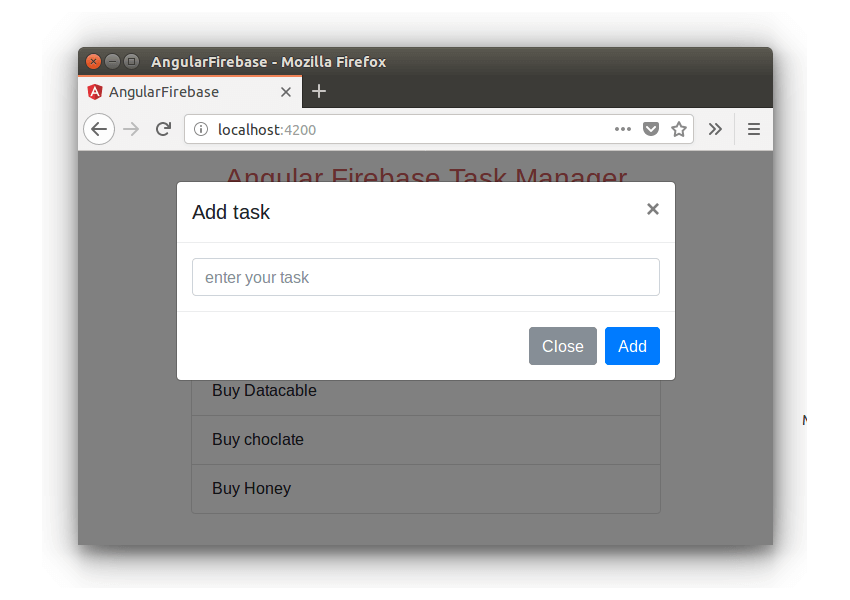
Save the above changes and refresh the application. Try clicking the Add button and you will have the add task screen popped up. Enter the task and click the Add button. Once the details are saved the pop up will close.
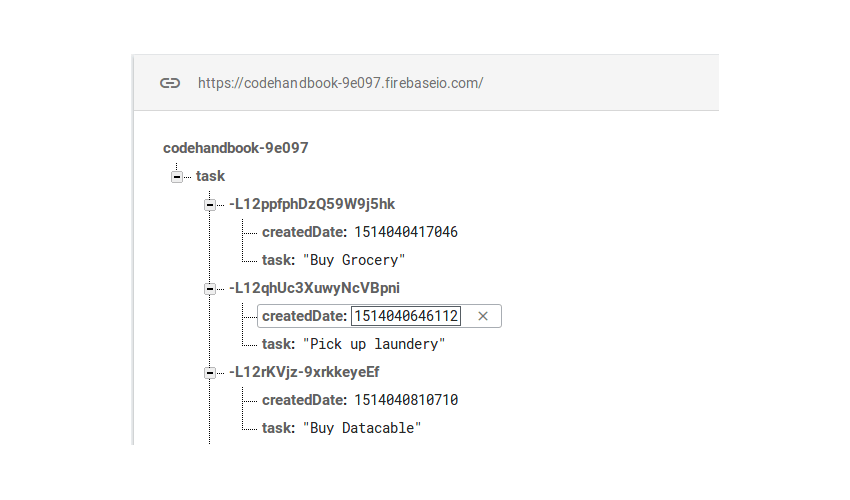
Check the Firebase console and you will have the added tasks.
Fetching The Task From Firebase
In our task manager web app using Angular and Firebase, you added the task details to the Firebase database. To display the tasks added to the Firebase database you need to subscribe to the changes to the Firebase URL.
Create a method called getTask in the list-task.component.ts file. Here is how to looks:
getTask(){
    return this.angularFire.list('/task').valueChanges();
}
You need to subscribe to the getTask method and fetch the details returned and set to the tasks variable.
ngOnInit() {
    this.getTask().subscribe(res => {
        this.tasks = res;
    });
}
Modify the list-task.component.html file to iterate over the tasks variable and render the tasks.
<div class="wrapper">
  <app-add-task></app-add-task>
  <ul class="list-group">
    <li *ngFor="let task of tasks" class="list-group-item d-flex justify-content-between align-items-center">

    </li>
  </ul>
</div>
Here is the list-task.component.ts file looks:
import { Component, OnInit } from '@angular/core';
import { AngularFireDatabase } from 'angularfire2/database';

@Component({
  selector: 'app-list-task',
  templateUrl: './list-task.component.html',
  styleUrls: ['./list-task.component.css']
})
export class ListTaskComponent implements OnInit {

    public tasks;

    constructor(private angularFire: AngularFireDatabase) {

    }

    ngOnInit() {
        this.getTask().subscribe(res => {
            this.tasks = res;
        });
    }

    getTask(){
        return this.angularFire.list('/task').valueChanges();
    }
}
Save the above changes and try adding new tasks. On adding the new task the list will get auto updated.
Wrapping It Up
In this tutorial, you saw how to get started with creating a web app using Angular and Firebase. In this tutorial, you created a simple task manager web app using Angular and Firebase as back end. You learnt how to add and get details from Firebase from an Angular app using AngularFire.
How was you experience learning to build a web app using Angular and Firebase? Do let us know your thoughts in the comments below.
Source code from this tutorial is available on GitHub.