In this tutorial, you’ll learn how to validate the Angular Reactive Form. This is the third part of the Angular Material Reactive Form Tutorial Series. In the previous part, you learned how to create an Angular reactive form and get data from the form. So, let’s get started.
Source code from this tutorial is available on GitHub.
Getting Started
Let’s get started by cloning the source from the second part of the tutorial series.
git clone https://github.com/jay3dec/reactive-form-tutorial-series/
cd reactive-form-tutorial-series
git checkout feature-create-reactive-form
Once you have the source code, navigate to the project folder, install required dependencies, and start the application.
npm install
npm start
You will have the application running at http://localhost:4200.
Required Field Validation In Reactive Form
Reactive forms provide a number of inbuilt validation checks which you can use straight away. In the profile form group that you created in the app.component.ts file, add the required form validation as shown:
profileForm = this.formBuilder.group({
  firstName: ['', [Validators.required]],
  lastName: ['', [Validators.required]],
  address: ['', [Validators.required]],
  dob: ['', [Validators.required]],
  gender: ['', [Validators.required]]
});
Once you have the required field validation check in place, let’s save the changes and restart the application.
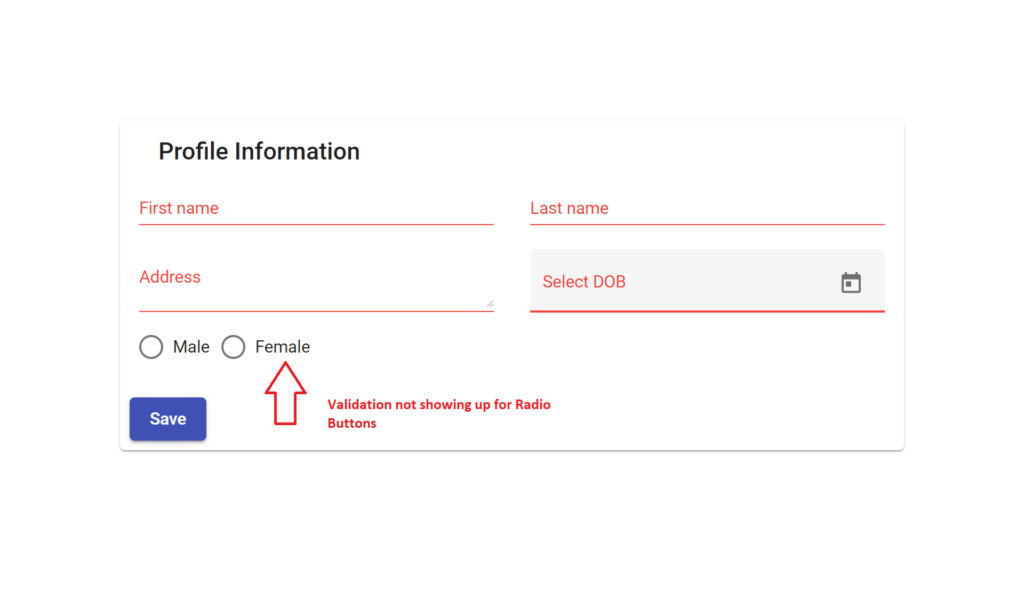
Clicking on the save button and you will have the form fields highlighted in red for required fields.

Reactive Form Required Field Validation
As seen in the above screenshot, the validation showed up for all the input fields but the radio button. Since validation didn’t work by default, let’s add a custom style to highlight the required radio buttons. Add the following class to the app.component.css file:
.invalid{
    color:#f44336;
}
Add the invalid class to the mat-radio-group dynamically when the value of the gender form field is invalid.
   Male
   Female
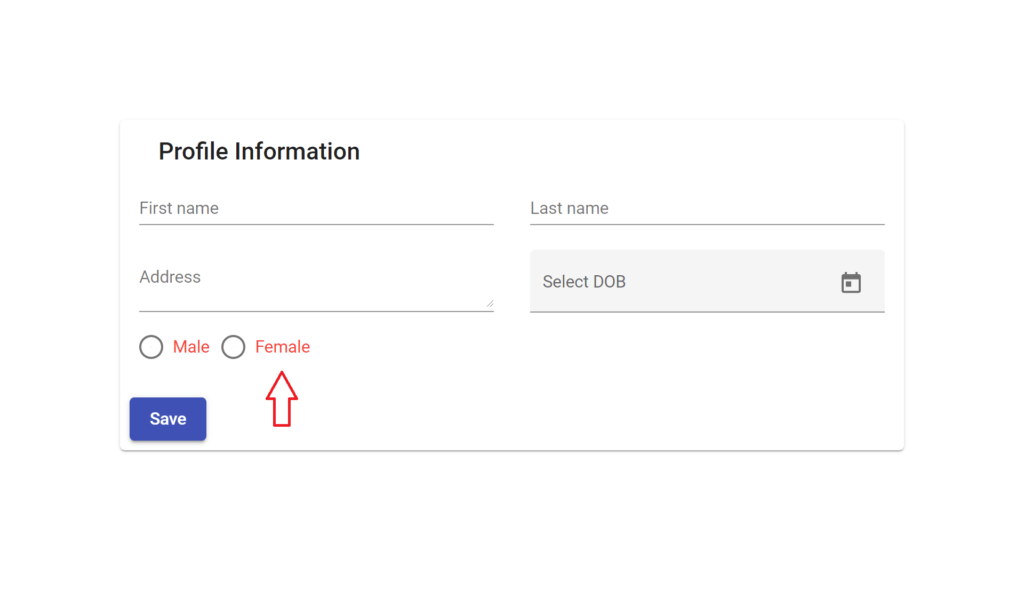
Save the changes and navigate to the app.

Reactive Form Field Validation
When you load the application, you will see that the radio button is highlighted in red even before clicking the save button. So, let’s add a check to add the class only when the form is submitted and the radio button value is invalid.
Let’s make use of the NgForm directive to check if the form is submitted or not. Add it to the form in the app.component.html:
......
Add the form submitted check to mat-radio-button.
   Male
   Female
Here is how the complete app.component.html file looks:
        Profile Information


            Select DOB


             Male
             Female


      Save
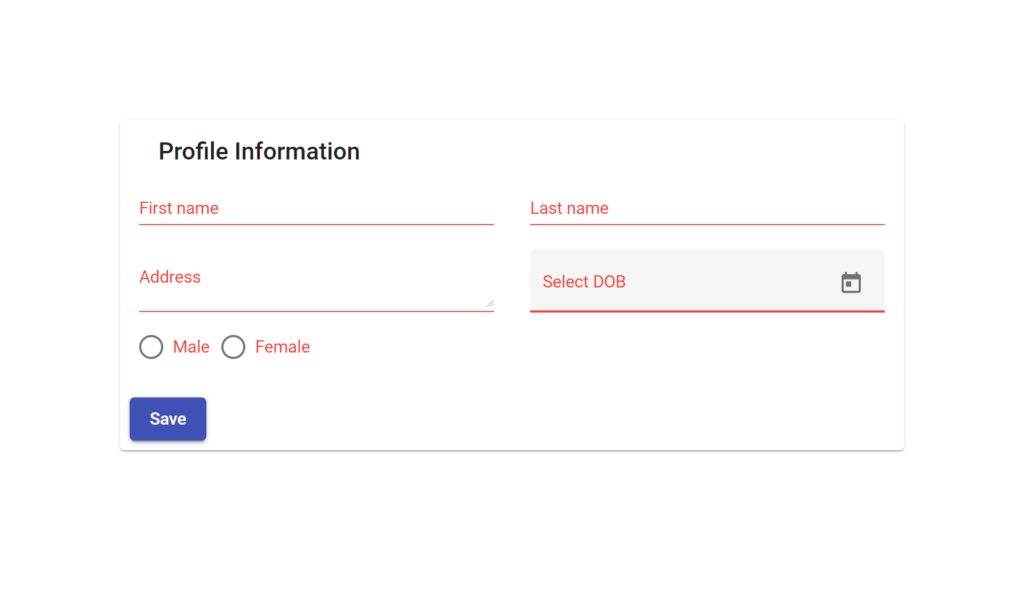
Save the above changes and load the application. Initially, none of the fields are highlighted. Click on the Save button and you will be able to see the required fields highlighted in red.

Reactive Form Required Field Validation
Submit Reactive Form
Let’s submit the reactive form when everything is valid. If any required field is missing, let’s show a required validation message along with the highlighted fields.
Add the following check to the saveForm method in the app.component.ts file.
saveForm(){
  if(this.profileForm.valid){
    console.log('Profile form data :: ', this.profileForm.value);
  }
}
When you click the Save button, the form values only get logged to the browser console if the form is valid. Let’s add a required message to the form. Modify the mat-card-title HTML as shown:
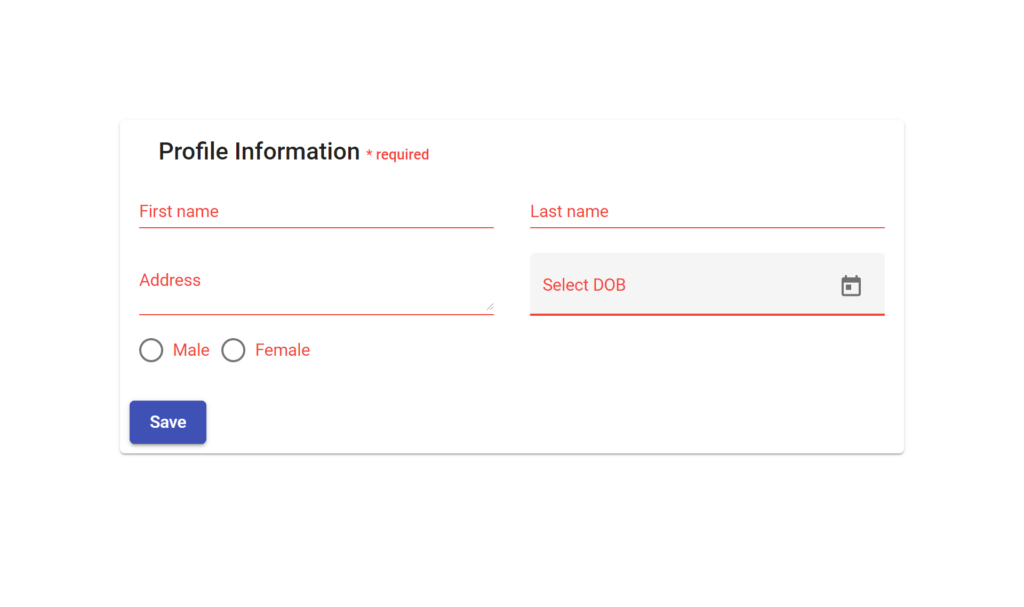
Profile Information * required
So when the form is invalid the required field validations will show up along with the message.

Reactive Form Required Field Validation
Wrapping It Up
In this tutorial, you learned how to add required field validations to Angular Reactive Forms. In the next part of this tutorial series, you’ll learn how to add custom validations to Angular Reactive Forms.