In this tutorial, you’ll learn how to create a login screen using Next.js framework. This tutorial will be split in multiple parts for ease of understanding. In this part, I’ll share how to get started with Next.js and create the design of the login screen using Bootstrap. So, let’s get started.
Getting Started With Next.js
If you are just getting started make sure you have Node.js version 10.13 or later.
From the terminal type in the following command,
npx create-next-app login-app
The above command creates a next.js app called login-app. Navigate to the project directory and run the next.js app.
cd login-app
npm run dev
You will be able to see the Next.js welcome page.
Adding Bootstrap To Next.js
Install bootstrap using npm.
npm install bootstrap --save
Once you have bootstrap installed you can import it to the project. Inside your project folder you have pages folder which has file called _app.js which is shared across all the pages. You can import the bootstrap CSS inside _app.js.
import '../styles/globals.css'
import '../node_modules/bootstrap/dist/css/bootstrap.min.css'

function MyApp({ Component, pageProps }) {
  return <Component {...pageProps} />
}

export default MyApp
Signin Component
Create a new file called signin.js inside pages folder and add the following code:
import cx from 'classnames';
import styles from '../styles/Signin.module.css'

export default Signin;

function Signin() {
  return (
    <>

      <main className={cx(styles["form-signin"],"text-center","mt-5")}>
        <form>
          <h1 className="h3 mb-3 fw-normal">Please sign in</h1>

          <div className="form-floating">
            <input type="email" className="form-control" id="floatingInput" placeholder="name@example.com" />
            <label htmlFor="floatingInput">Email address</label>
          </div>
          <div className="form-floating">
            <input type="password" className="form-control" id="floatingPassword" placeholder="Password" />
            <label htmlFor="floatingPassword">Password</label>
          </div>

          <div className={cx(styles.checkbox,"mb-3")}>
            <label>
              <input type="checkbox" value="remember-me" /> Remember me
            </label>
          </div>
          <button className="w-100 btn btn-lg btn-primary" type="submit">Sign in</button>
        </form>
      </main>

    </>
  )
}
The above component simple has the HTML for sign page. We are using classnames to combine class names in JSX. So import the classnames package.
npm install classnames --save
As you would have already noticed in the signin.js file, we are importing the sign in specific styles from Signin.module.css file inside the styles folder. Here is how it looks:
.form-signin {
  width: 100%;
  max-width: 330px;
  padding: 15px;
  margin: auto;
}

.form-signin .checkbox {
  font-weight: 400;
}

.form-signin .form-floating:focus-within {
  z-index: 2;
}

.form-signin input[type="email"] {
  margin-bottom: -1px;
  border-bottom-right-radius: 0;
  border-bottom-left-radius: 0;
}

.form-signin input[type="password"] {
  margin-bottom: 10px;
  border-top-left-radius: 0;
  border-top-right-radius: 0;
}
Next remove the existing code from the index.js file. This is the file which Next.js looks in to first to render the base component. Here you’ll import the Signin component and render it.
import Signin from './signin';

export default function Root(){
    return(
        <>
            <Signin></Signin>
        </>
    )
}
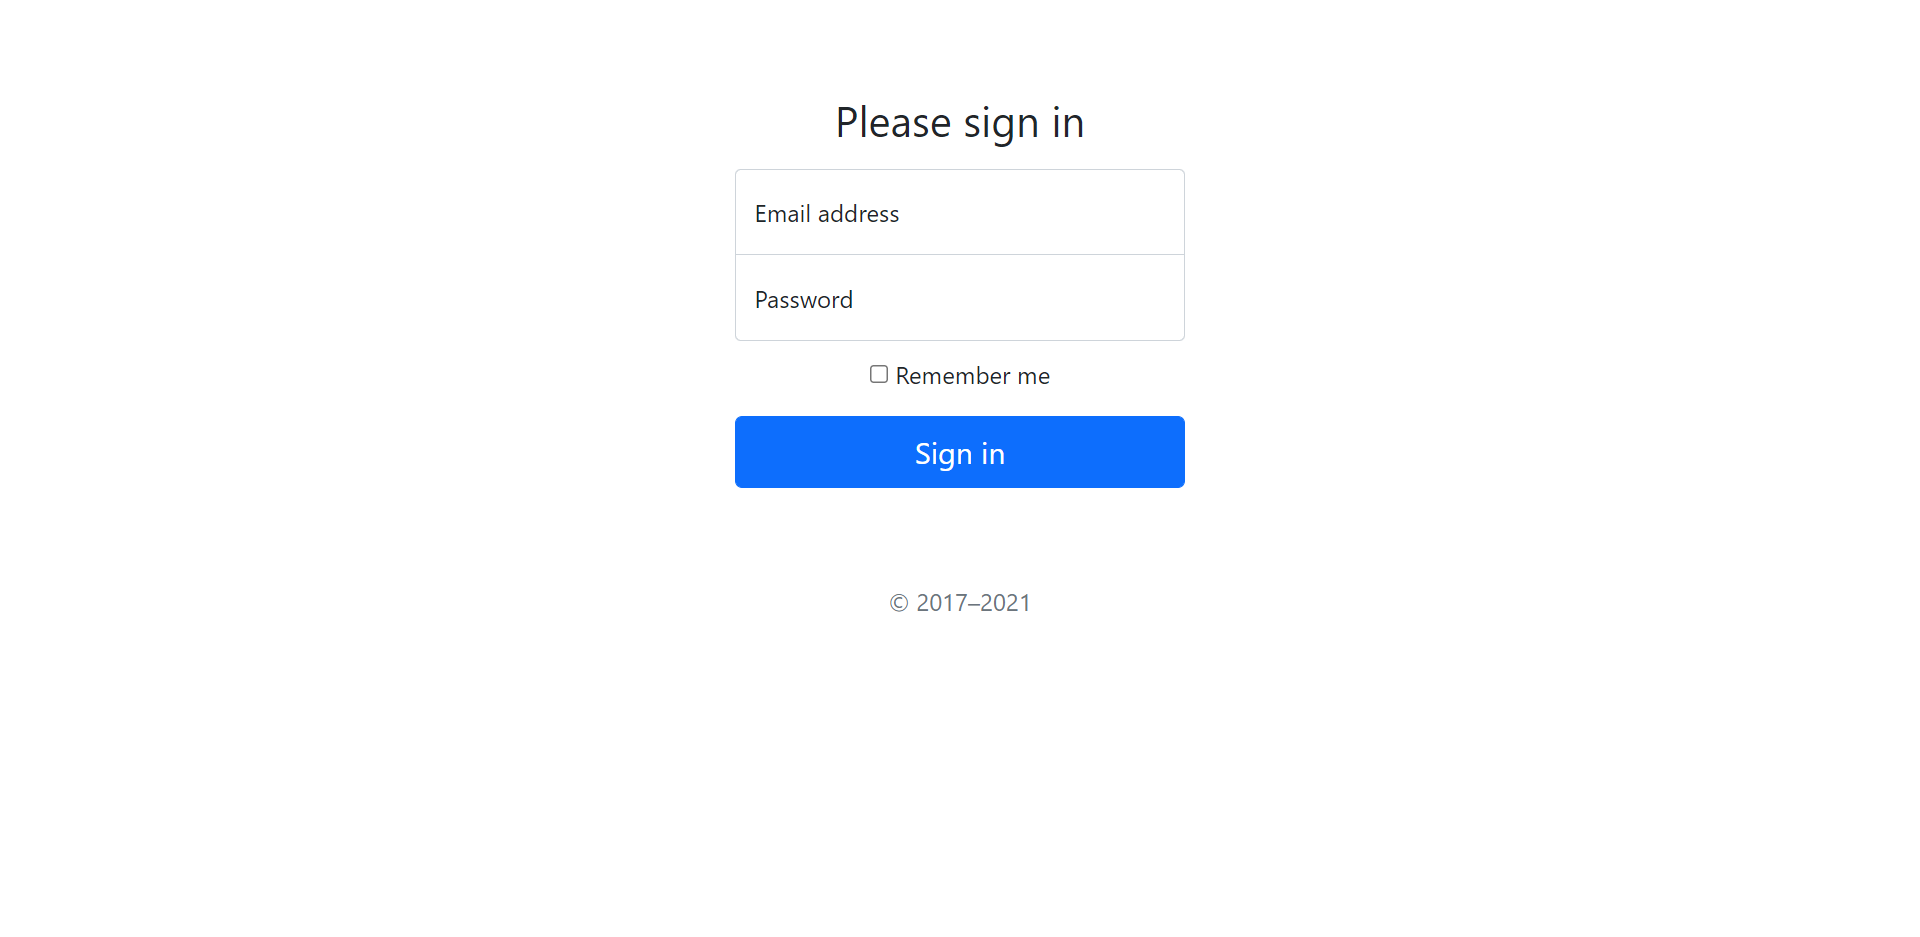
Save the above changes and reload the app running at http://localhost:3000/ and you will be able to see the sign in page.
In the next part, you’ll see how to make it functional by adding in validations and interactions with the back end APIs.