In this tutorial, you’ll learn how to add custom validation to Angular Reactive Form. This is the fourth part of the Angular Material Reactive Form Tutorial Series. In the previous part, you learned how to validate the Angular Reactive form. So, let’s get started.
Source code from this tutorial is available on GitHub.
Getting Started
Let’s get started by cloning the source from the third part of the tutorial series.
git clone https://github.com/jay3dec/reactive-form-tutorial-series/
cd reactive-form-tutorial-series
git checkout feature-custom-validation
Once you have the source code, navigate to the project folder, install required dependencies, and start the application.
npm install
npm start
You will have the application running at http://localhost:4200.
Custom Validation In Reactive Forms
Here is how you have defined inbuilt validators as required in Reactive forms.
  profileForm = this.formBuilder.group({
    firstName: ['', [Validators.required]],
    lastName: ['', [Validators.required]],
    address: ['', [Validators.required]],
    dob: ['', [Validators.required]],
    gender: ['', [Validators.required]]
  });
To add a custom validator you can define the method and add it to the validation’s array. Let’s add a custom validator which shows an error when & is entered in the firstName field.
Add the following method to the app.component.ts file:
amperSandValidator(control: FormControl) { (1)
  let name = control.value;
  if (name && name.length > 0 && name.indexOf("&") != -1) {
    return {
      amperSandError: {
        enteredName: name
      }
    }
  }
  return null;
}
The above method checks if the first name entered has amper sand (&) in it. If found it throws an error.
Add the custom validator amperSandValidator to the validation array for firstName field.
profileForm = this.formBuilder.group({
  firstName: ['', [Validators.required, this.amperSandValidator]],
  lastName: ['', [Validators.required]],
  address: ['', [Validators.required]],
  dob: ['', [Validators.required]],
  gender: ['', [Validators.required]]
});
You need to catch the amperSandValidator error and show a message in the form. You can check for error using profileForm:
profileForm.get('firstName').errors.amperSandError
Modify the HTML in app.component.html file to include a hint to show message in case of amperSandValidator error.
<mat-hint class="invalid" *ngIf="profileForm.get('firstName').errors && profileForm.get('firstName').errors.amperSandError">AmperSand not allowed</mat-hint>
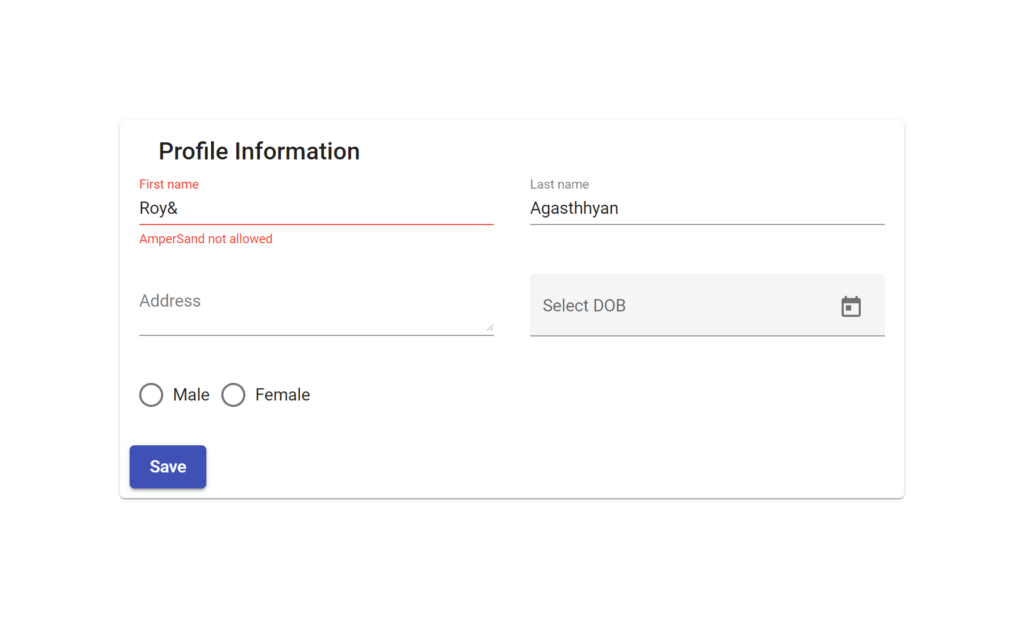
Save the above changes and start the application. Enter the first name with an ampersand and you will be able to see the ampersand error message.
Wrapping It Up
In this tutorial, you learnt how to add custom validation to Angular Material Reactive Forms. In the next part of this Reactive Form Tutorial Series, you’ll learn how to dynamically add validations in Angular Reactive Forms.